Great food photography doesn't require expensive equipment or a professional studio. With the right techniques and a bit of creativity, you can create stunning images that make your dishes irresistible on social media.
Essential Equipment (Under $100)
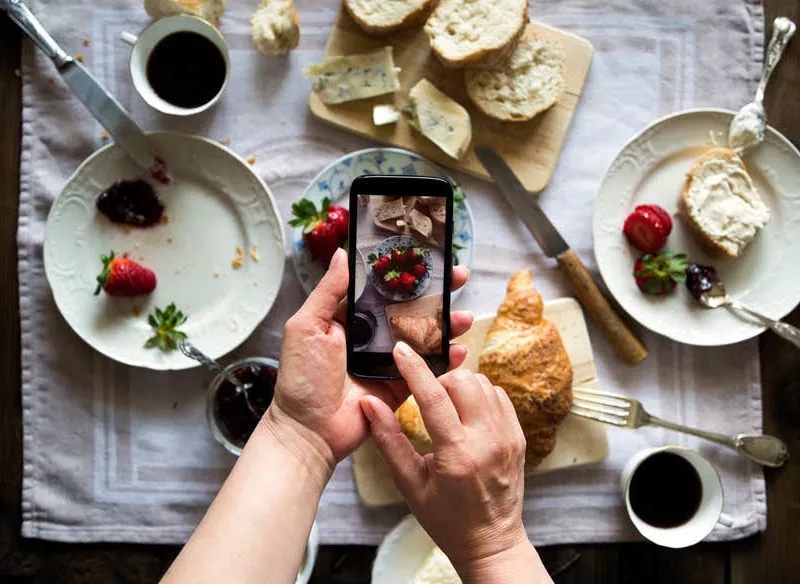
You don't need a professional camera to start. A smartphone with a good camera, a simple tripod, and some basic lighting equipment can produce amazing results.
Lighting is Everything
Natural light is your best friend. Position your food near a window with soft, diffused light. Avoid direct sunlight which creates harsh shadows. If shooting at night, invest in a simple LED light panel.
Composition Techniques
- Rule of Thirds: Place your main dish along the intersection points
- Overhead Shots: Perfect for flat lays and showing multiple dishes
- 45-Degree Angle: Shows both the top and side of the dish
- Close-ups: Highlight textures and details
Styling Tips
Food styling can make or break your photo. Use fresh ingredients, add garnishes strategically, and consider the color palette of your entire composition.
Props and Backgrounds
Simple props like wooden boards, cloth napkins, and vintage utensils can add character without overwhelming the food. Keep backgrounds neutral to make your dishes pop.
Post-Processing Magic
Basic editing can transform a good photo into a great one. Adjust brightness, contrast, and saturation. Apps like VSCO, Lightroom Mobile, and Snapseed offer professional-level editing tools.
Common Mistakes to Avoid
- Over-editing that makes food look unnatural
- Poor lighting that creates unflattering shadows
- Cluttered compositions that distract from the food
- Not considering your brand's visual consistency
Remember, consistency is key to building a strong visual brand on social media. Develop your unique style and stick to it across all your food photography.